How to Make Perfect Sushi Rice at Home Every Time
The secret to incredible homemade sushi doesn't lie solely in the freshest fish or crispest vegetables. No, the true foundation of any great sushi roll, nigiri, or bowl is the rice itself. Perfectly prepared sushi rice, known as shari (シャリ) or sushi-meshi (鮨飯) in Japanese, is a culinary marvel: glossy, subtly sweet, perfectly tangy, and just sticky enough to hold its form without being mushy. Mastering how to make sushi rice at home is a game-changer, elevating your sushi creations from good to truly exceptional. This comprehensive guide will walk you through every step, ensuring your sushi rice turns out right every single time.
The Enduring Legacy of Sushi Rice: A Brief History
To truly appreciate the art of how to make sushi rice, it's worth understanding its fascinating origins. Sushi rice, as we know it today, has a rich history dating back centuries. Its earliest form, known as narezushi, involved using rice to ferment and preserve fish in Southeast Asia before making its way to Japan. The rice itself wasn't eaten but served as a protective, fermenting agent. Over time, Japanese culinary innovators discovered that incorporating vinegar into the rice could replicate the desired lightly sour taste of fermentation, creating a much faster and more palatable dish.
This evolution led to hayazushi, or "fast sushi," by the 17th century, where vinegared rice was combined with fresh seafood. This marked a pivotal moment, transforming sushi from a preservation method into a beloved culinary art form enjoyed for its taste. Today, this seasoned rice remains the heart and soul of modern sushi, known by its evocative names: shari (referring to the Buddha's ashes, due to the rice's pure white color), sushi-meshi (sushi meal), or su-meshi (vinegared rice). Understanding this heritage deepens your connection to the ingredients and the tradition behind every bite.
Why Perfect Sushi Rice is Non-Negotiable for Authentic Sushi
You might be wondering, "Why all this fuss about rice?" The answer is simple yet profound: great sushi begins and ends with great rice. Unlike plain steamed rice, sushi rice is an active participant in the flavor profile of the dish. It provides a crucial counterpoint to rich fish, fresh vegetables, and savory sauces. As explored in our article Why Perfect Sushi Rice is Key for Authentic Sushi Flavor, the balance of sweet, tangy, and subtly salty flavors in *shari* is what truly ties all the elements of sushi together.
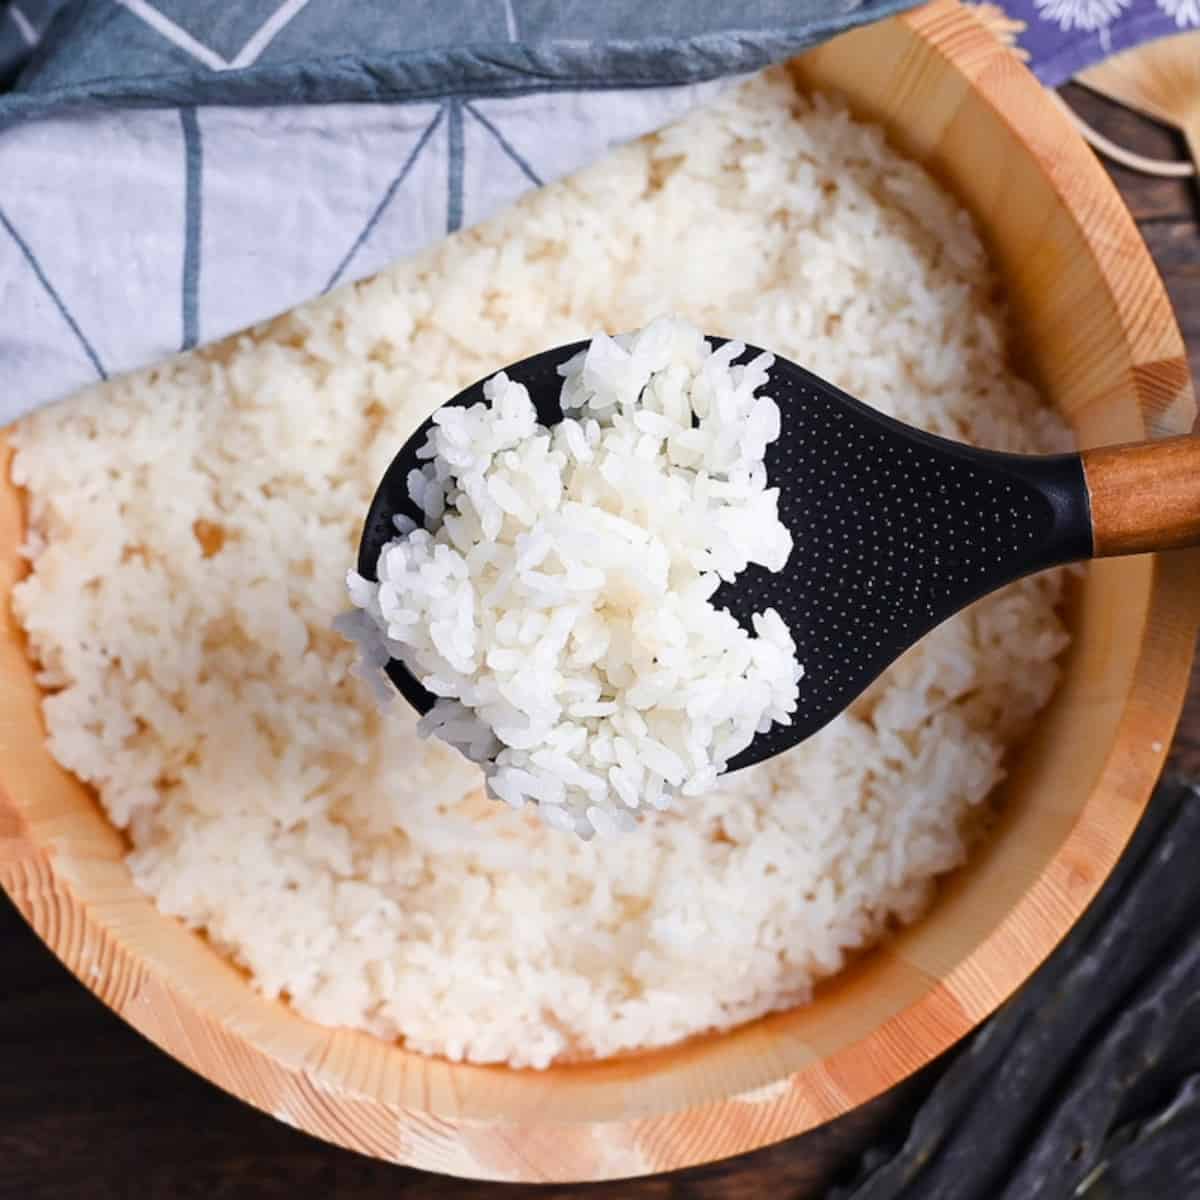
Beyond flavor, the texture is paramount. Perfect sushi rice has individual grains that are firm yet yielding, sticky enough to cling together for easy shaping into rolls or nigiri, but never mushy. It boasts a beautiful, glossy sheen, indicating proper seasoning and cooling. Without these qualities, even the finest ingredients fall flat. If the rice is too dry, it crumbles; too wet, it becomes an unappetizing paste. For a deeper dive into what makes this rice unique, read Sushi Rice vs. Plain Rice: Unveiling Its Unique History & Taste. Mastering how to make sushi rice means mastering the very essence of sushi.
Mastering the Art: Step-by-Step Guide on How to Make Sushi Rice
Ready to transform humble grains into glorious shari? Follow this detailed guide to ensure your homemade sushi rice is consistently perfect.
Step 1: Choosing and Preparing Your Rice
The journey to perfect sushi rice begins with the right type of rice and meticulous preparation.
- Select the Right Rice: Always use short-grain or medium-grain Japanese rice (sometimes labeled "sushi rice"). These varieties have the ideal starch content and texture to achieve that signature stickiness without becoming gluey. Long-grain rice will not work.
- Rinse Thoroughly: Measure your desired amount of rice (e.g., 2 cups) into a large bowl. Add cold water and gently agitate the rice with your hands. The water will become cloudy. Drain and repeat this process 5-7 times, or until the water runs mostly clear. This step is crucial for removing excess starch, preventing mushiness, and encouraging a beautiful, glossy finish.
- Soak for Perfection: Transfer the rinsed rice to your rice cooker pot. Add the appropriate amount of cold water (typically a 1:1 ratio for Japanese rice, but check your rice cooker's instructions or the rice package). For an extra layer of umami, consider adding a 2-inch piece of kombu (dried kelp) to the soaking water. Let the rice soak for 20-30 minutes. Soaking ensures the rice cooks evenly and results in a more tender, plump grain.
- Cook the Rice: If your rice cooker has a "Sushi" setting, use it. Otherwise, use the "White Rice" setting. If cooking on a stovetop, bring the rice and water to a boil, then reduce heat to low, cover tightly, and simmer for about 15-20 minutes until all water is absorbed. Let it rest, covered, for another 10-15 minutes after cooking. Remove the kombu before seasoning.
Step 2: Crafting the Perfect Sushi Vinegar Seasoning (Sushi-zu)
While the rice cooks, prepare your simple yet essential seasoning. This mixture is often called sushizu (すし酢).
- Ingredients: For 2 cups of dry rice, you'll typically need:
- 4 tablespoons rice vinegar (Japanese rice vinegar, not seasoned or other types of vinegar)
- 2 tablespoons granulated sugar
- 1 teaspoon salt
- Gently Heat: Combine the rice vinegar, sugar, and salt in a small saucepan. Heat over medium-low heat, stirring constantly, just until the sugar and salt have fully dissolved. Do not boil, as this can alter the vinegar's flavor.
- Cool Completely: Remove from heat and allow the sushizu to cool to room temperature. Pouring hot vinegar onto hot rice can cook the grains further or make them mushy, so patience here is key.
- Time-Saving Tip: If you're short on time, pre-made bottled sushizu is available in most Asian markets. Just ensure it's unseasoned before you begin, or adjust your recipe accordingly.
Step 3: Seasoning the Cooked Rice with Finesse
This is where the magic happens – transforming plain steamed rice into glossy, flavorful sushi rice.
- Transfer the Hot Rice: Immediately after cooking, gently transfer the hot rice to a large, non-reactive surface. A traditional wooden hangiri (sushi rice tub) is ideal as its wood absorbs excess moisture, preventing sogginess. If you don't have one, a large baking sheet, a wide, shallow glass bowl, or a large platter will work. Spread the rice out evenly to maximize the surface area for steam to escape and for even seasoning.
- Pour and Distribute the Sushizu: While the rice is still hot, slowly and evenly pour the cooled sushizu over the spread-out rice. Use a rice paddle to control the flow, ensuring it's distributed across all the grains.
- "Slice" and Fan: Hold your rice paddle at a 45-degree angle. Using a gentle "slicing" or chopping motion, carefully fold and turn the rice to distribute the seasoning. Avoid mashing or stirring vigorously, as this can break the delicate grains. Simultaneously, fan the rice vigorously with a handheld fan, a piece of cardboard, or even a hairdryer on a cool setting. Fanning cools the rice quickly, helps the vinegar evaporate slightly, and gives the rice its characteristic glossy appearance. Continue slicing and fanning until the rice is shiny, each grain is separate but sticky, and it has cooled to room temperature (not cold).
Step 4: Cooling and Holding for Perfection
Once seasoned and cooled, your sushi rice is ready for action.
- Cover and Rest: Once the rice has reached room temperature, gather it into a mound and cover it with a damp (not wet) cloth or paper towel. This prevents the rice from drying out, which can make it crumbly and difficult to work with.
- Serve at Room Temperature: Sushi rice is best used at room temperature, not chilled. The delicate flavors and textures are optimal when not too cold. Use it within a few hours for the best results.
Troubleshooting & Pro Tips for Sushi Rice Success
Even seasoned sushi makers encounter challenges. Here are some tips to ensure your success:
- Rice is Too Mushy: You likely didn't rinse enough, used too much water, or mashed it during seasoning. Ensure thorough rinsing and gentle handling.
- Rice is Too Dry/Hard: Not enough water, not soaked long enough, or cooked too quickly. Also, not covering the seasoned rice can cause it to dry out.
- Not Sticky Enough: You might be using the wrong type of rice (not short or medium grain), or you didn't allow enough starch to develop (though too much starch makes it mushy). Ensure proper rinsing, but don't over-rinse to the point of removing all stickiness.
- Flavor Imbalance: Adjust your sushizu ratios slightly to your preference. Some prefer a sweeter rice, others tangier. Consistency is key.
- Invest in a Hangiri: While not essential, a wooden hangiri truly makes a difference. Its porous wood absorbs excess moisture from the hot rice, preventing it from becoming soggy and helping it achieve the perfect texture and sheen.
- Use a Non-Metallic Paddle: Always use a wooden or plastic rice paddle to handle the rice, especially during seasoning. Metal can react with the vinegar and damage the delicate grains.
- Practice Makes Perfect: Don't be discouraged if your first batch isn't perfect. Like any culinary art, making sushi rice improves with practice. Pay attention to the subtle cues – the feel of the rice, its shine, and its aroma.
Conclusion
Mastering how to make sushi rice is a rewarding journey that elevates your homemade sushi to new heights. It's more than just cooking grains; it's about understanding the delicate balance of flavor, texture, and tradition that makes sushi so beloved worldwide. By following these steps and paying attention to the details, you'll consistently create glossy, perfectly seasoned sushi rice that forms the ideal foundation for all your sushi adventures. So gather your ingredients, take your time, and prepare to impress yourself and your guests with truly authentic sushi, starting with the heart of it all: the rice.
